
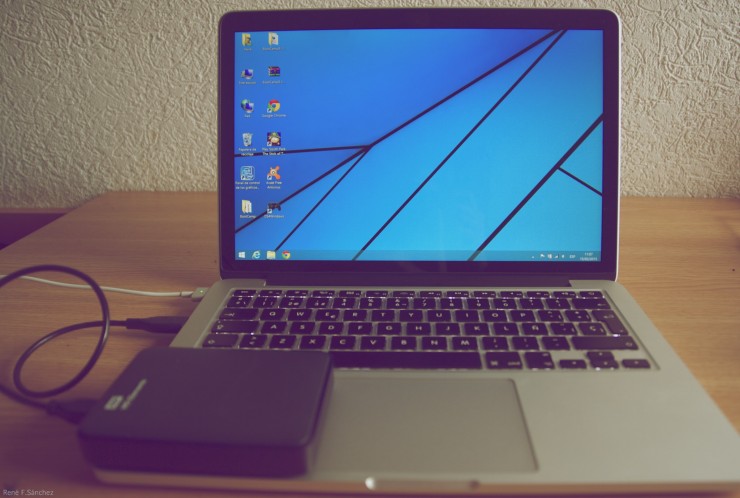
Those of us who have Mac laptops usually find ourselves with the same question every time we need to use Windows: Should I use a virtual machine or install Bootcamp? In both cases we will be in a bit of a hurry if our hard drive does not have much space. But there is a third option: install it on an external hard drive.
The advantage of this last alternative is that the files on our Mac will not be modified and every time we want to run Windows, we will only have to connect the hard drive and hold down the “Alt” key to start it.
Preliminaries
- Important: You need to have a virtual machine (or access to a Windows computer) that has the same architecture as the version of Windows you are going to install (x86 or x64).
- You need your Mac to have USB3 or Thunderbolt connections (and also your external hard drive).
- You need an ISO of the version of Windows you want to install (in my case I tried it successfully with Windows 8.1).
- Download imagex.exe from this page (you will have to select the Windows version and the program will download the necessary files. Once downloaded, imagex.exe will be in the folder).
- Bootcamp drivers for your computer, which you can select here depending on the version.
- A USB stick to save the drivers.
- An external USB3/Thunderbolt hard drive.
1. Get the install.wim file
First of all you must mount the Windows ISO. On Mac you can do it very easily by double clicking on it. On Windows you can use tools like Winrar to access your files.
Once mounted, you must access the “sources” folder and look for a file called “install.wim”.
You should then copy this file to your virtual machine or Windows installation to, for example, C:wim. You must also move the imagex.exe file to this folder.
2. Clean, partition and format external hard drive
In this step all data on the external hard drive will be erased, so make a backup if necessary.
When installing Windows, you must run the cmd/command terminal with administrator permissions (right click, run as administrator).
First, you have to run the partition utility:
diskpartSecondly, we list all our units:
list diskOur external hard drive should appear in the list, which we must identify by a number (usually 0 or 1).
Once identified, we must select it (# is the disk number):
select disk #Next we will clean the disk and its partitions (this step is the one that will erase its contents, be careful):
cleanWe convert the disk partition to MBR format:
convert mbrNext we will create the boot partition on the disk, which will occupy about 350MB:
create partition primary size=350We will format this partition in FAT32
format fs=fat32 quickWe will set this partition as active:
activeAnd we will assign it a letter that is not already occupied in our system (in this case b):
assign letter=bNext, we will create a new partition with the rest of the available disk space. I haven’t tried it, but it is likely that if we don’t want it to take up all the remaining space we can set the desired size with the size=XXX parameter just as we did before.
create partition primaryWe format the partition in NTFS:
format fs=ntfs quickAnd we will assign another letter that is not taken (in this case o):
assign letter=oOnce this is done, we will exit the application:
exit3. Deploy the Windows installation image
Again from the command line we must access the folder where we have the install.wim and imagex.exe files. If you followed the steps, both should be in C:wim.
Once located in that directory we will have to check which Windows installation we want to perform, because normally Windows DVDs and images have several. To do this we will use the following command and check the id number:
imagex.exe /info C:wiminstall.wimOnce this number is identified, we will copy the image to our hard drive, which may take some time (“1” is the installation index obtained previously and “o” is the letter of our disk):
imagex.exe /apply C:wiminstall.wim 1 o:Next, we will create the boot section of our disk, replacing (if necessary) the letters of our drives (b: and o:):
o:windowssystem32bcdboot o:windows /f ALL /s b:3. Boot and install Windows
Once all the previous steps have been completed, we must connect the hard drive to our Mac (in case we have done the steps that required Windows with another computer and not with a virtual machine). We restart the computer and hold down the “Alt” key (a couple of times during the installation).
When the disk selection menu appears, we will choose Windows and proceed to install it.
Once in Windows, we must install the Bootcamp drivers and restart the computer.
After restarting, you may see a blinking cursor at the top left of the screen. In this case, my solution was to connect the hard drive to another USB port.
Windows performance using a USB3 hard drive is quite good and allows you to play games quite smoothly.
Source | BleepToBleep (English)