
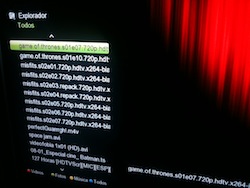
 With the arrival of Lion, users of multimedia hard drives like the InOut Mediacenter 4G HD or Western Digital, we lost access to our computer from the device because Apple decided to include its own version of the network protocol, called SMBX and which has some differences with respect to the original free software version. Luckily, there is a way to install the free version and therefore restore compatibility with our multimedia hard drive.
1. Install MacPorts, XCode Tools and SMB
First of all, we must install XCode from the App Store because it includes some tools necessary later.
Next, we will have to download and install Macports, a command line application to facilitate the task of installing open source applications.
With Macports already installed we can install Samba, so we will open the Terminal and write the following command:
[text]sudo port install samba3[/text]
2. Disable Lion’s native File Sharing
When we press Enter, the application will automatically download and install. As it may take a while, we leave the Terminal window open and in the meantime we will do something else: check that we have “Sharing files via SMB” disabled. To do this we will go to “System Preferences”, then “Share”:
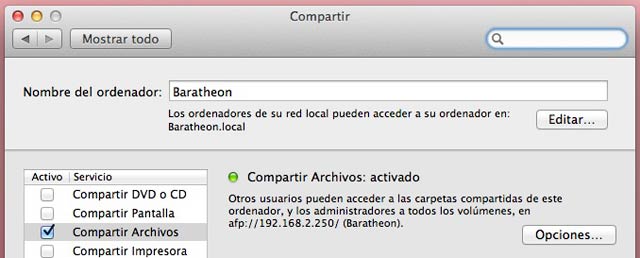
We will mark the “File Sharing” option and then click on the “Options…” button. There we will uncheck the second option: “Share files and folders via SMB (Windows)” and press accept.
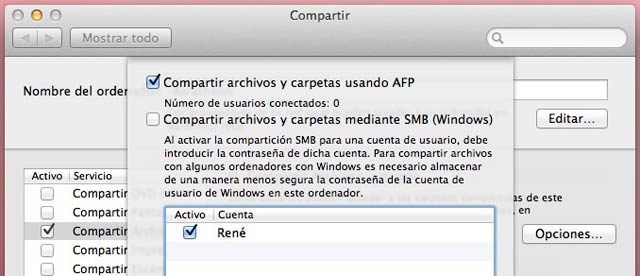
Now, we will have to deactivate the Lion SMB services that we have running by entering the commands:
sudo launchctl stop com.apple.netbiosd sudo launchctl unload -w /System/Library/LaunchDaemons/com.apple.netbiosd.plist
3. Customize SMB settings
At this point, SAMBA may have already finished installing (if not, we hope). Now we are going to have to access a hidden system folder, so we have to activate hidden files in Finder by entering:
defaults write com.apple.Finder AppleShowAllFiles TRUE killall Finder
Now we will customize the SAMBA configuration to suit our needs. To do this, we will download the following file (smb.conf.zip), unzip it and edit the parts that interest us. The basic thing is to establish the parts referring to the “workgroup” and “server string”, which are the work team and the name that the computer will have on the local network, as well as the folders that we want to share.
-workgroup = WORKGROUP
- server string = ComputerName
- path = /Users/rene/Movies
We open the Finder and go to the “/opt/local/etc/samba3/” folder, where we paste the file.
Almost to finish, we establish a username and password for the SMB resources:
sudo /opt/local/bin/smbpasswd -a user
4. Start SMB manually and automatically
Finally, to start the new service we must write in the Terminal:
sudo /opt/local/sbin/smbd -D && sudo /opt/local/sbin/nmbd -D
After this, the Mac should appear in our multimedia drive. However, if we want the service to start working on its own every time we start the computer, we will have to copy the following two files (unzipped) to “/Library/LaunchDaemons”:
And that’s it, we have SMB working again like in Snow Leopard. My thanks to AppleSana, which is where I read this and where I obtained the necessary files to make it work.
TIP: Whatever Apple hides, don’t let the user show it
If we want to hide the hidden files again (forgive the redundancy), we have to write in the terminal:
defaults write com.apple.Finder AppleShowAllFiles FALSE killall Finder