
 Seguramente si os dedicáis, aunque sea de manera amateur, al mundo de la fotografía, no hay nada que fastidie más, que estar durante varias horas editando una foto, para que luego, cuando se la mandas a alguien te diga: “Demasiado saturada.” “Algo pobre de color”. Tu juras y perjuras que en tu pantalla estaba genial, pero, ¿Qué es lo que ha pasado?
Your problem is probably the color calibration of your monitor. Very few have really good monitors for photo retouching, and this task is usually done either on a laptop monitor, usually of poor quality, or on the desktop monitor, which is also not usually a part where the most money is spent. These screens tend to become decalibrated over time and since we use them every day we do not notice the change.
To solve this, today we analyze a Datacolor product, the Spyder 3 Elite.
The Spyder 3 Elite is the high-end product of all Datacolor screen calibrators. It is used to create calibration profiles, calibrate multiple screens and even projectors (Televisions with Spyder 3 TV software), and also serves as an ambient light sensor to detect when we are working with a different ambient light than usual. In short, to be able to have profiles in different types of light.
In the box we can find the Spyder 3 Elite, some small instructions, a cloth to clean the screen and the CD that includes both the calibration and profile creation application, as well as an application that works in the background, which is responsible for measuring ambient light.
How to use
I will try to guide the calibration process, using screenshots, but I assure you that it is really easy. The screenshots are from the Mac version, but the Windows version is similar. After installing the software included on the CD, we will be presented with a window in which we will select the type of screen we are going to use. In my case I will select laptop.
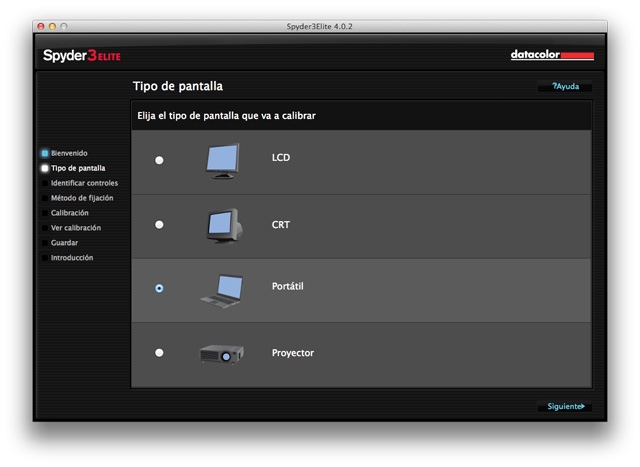
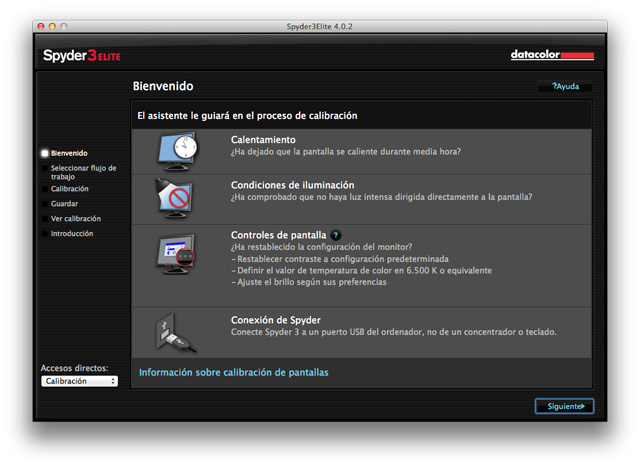
Afterwards, the program will give us 4 warnings that we must follow in case we want the calibration to be correct
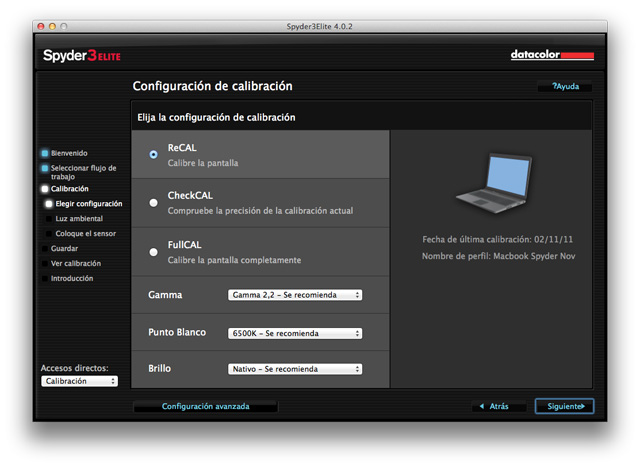
The next step is the main one, in which we will select the type of calibration: Quick, Complete (It will take about 5 minutes) or only evaluate the quality of the current calibration. We also have advanced options available, such as activating ambient light detection, which will help us, among other things, to select the brightness intensity that best suits us.
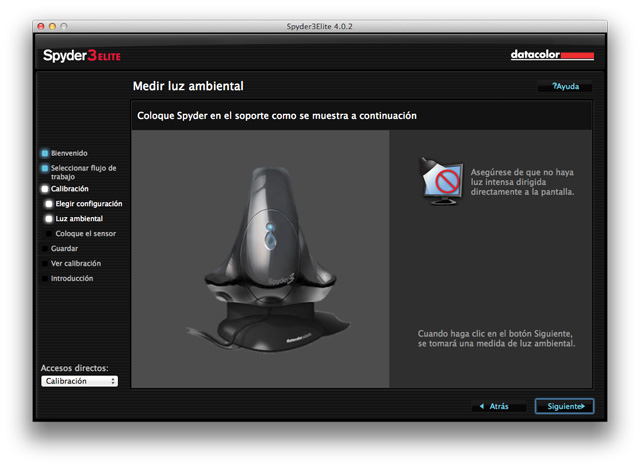
If you have selected the option to detect ambient light, the software will ask us to place the Spyder on its support so that it detects it.
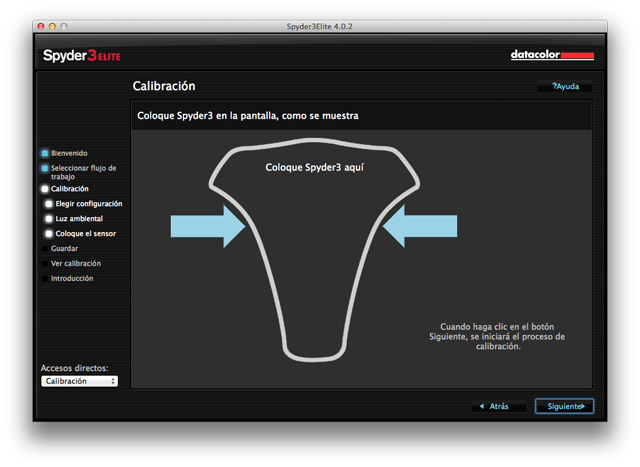
The last screen is where the user has to do something, it will tell us where we have to place the Spyder on the screen, and by just touching continue, the program will begin to do color checks for a few minutes (depending on the calibration version we have selected)
When the program finishes, it shows us a screen with different images and a button to exchange between the default calibration of the screen and the one carried out by the Spyder. Since both versions are exactly the same in a screenshot (remember that we are calibrating the monitor with respect to colors), I will limit myself to saying that the change is honestly incredible.
Is it worth it?
It really is a product with a very high value: €175 for the elite version, €125 for the pro and €85 for the express (the difference between the 3 versions is the precision of the calibration). But the difference between having the monitor uncalibrated and calibrated is really incredible, making the task of editing photos (especially for later printing) much easier. Ultimately, it’s only up to you to know if it’s worth it. In my opinion, the Spyder 3 Elite is a really interesting gadget for all photography lovers. It works well, it is easy to use, and it reminds me every 2 weeks to recalibrate, what more could you ask for?
My photos will never be totally different when printed, what about yours?